
Axle Components Diagram

Source : Saxperience

Axle repair kit : There are 4 bearings...big for outer and small for inner, please refer to diagram big is no 7 and small is no 8. Oilseal no 9. Rubber guard no 6.


look at the back side of your caliper, there are two bolts that hold the caliper. Remove the brake pads from the caliper and set them aside. Remember how they came out of the caliper. And also dont forget to release hand brake cable, take off brake disc and dics cover

Before you remove the rubber bung from the end of the anti-roll bar plate please make sure that you have special tool @ dummy shock absorber to determine the height then you can remove the absorber. Remove 13mm bolt that holds the anti-roll bar plate to the suspension arm. Use another long screw 18mm(i think) into the endplate and push the anti roll bar out the other end.


Remove the to rubber seal by using torex refer to diagram no 12. then remove washer no 13. Spray a lot of WD40 on the torsion bar, multiple times!. Use hammer to push the anti roll bar out the other end, like this.........clik the picture to see animation.


finally the axle arm have been remove from the housing.

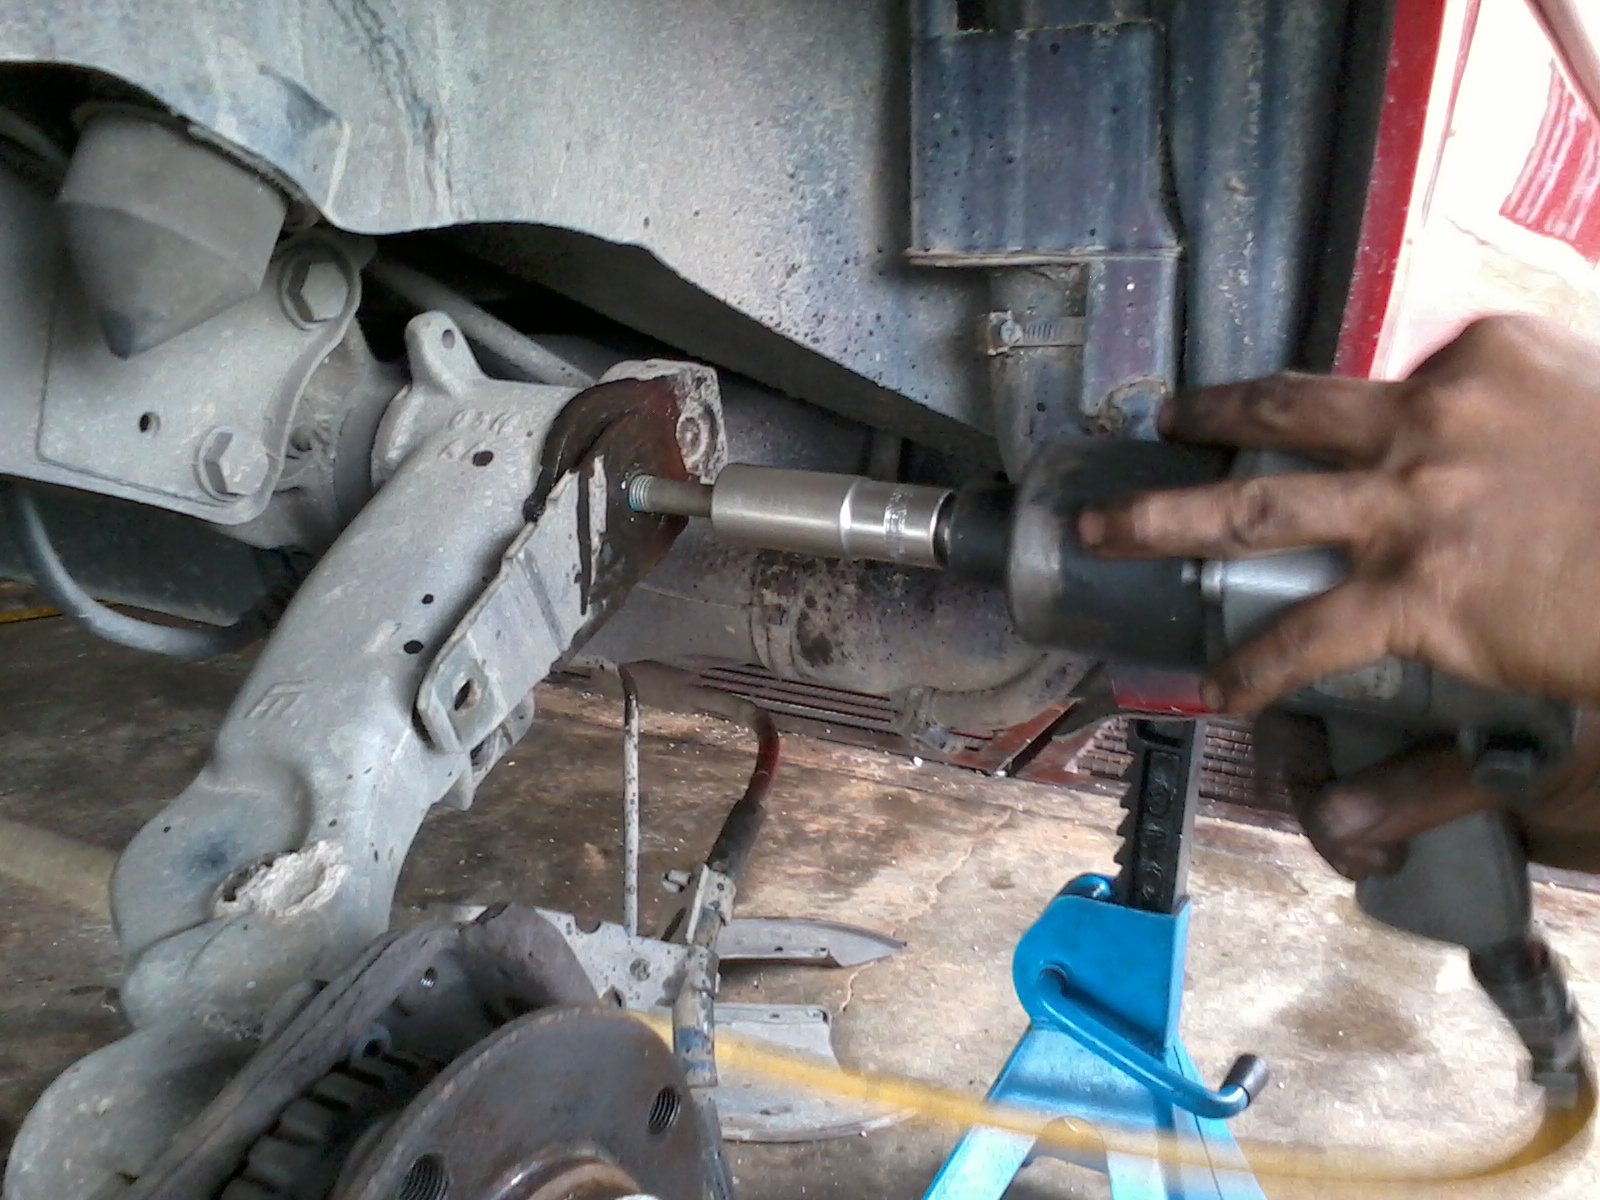
New axle pin.


Done........after send to press the new axle pin.


Now my axle pin DONE!!!!
my bearing inside the housing for axle pin DONE!!!
Respay to red colour DONE!!!
.
.
.
.
.
Put the anti roll bar, axle arm and the housing back in. Repeat the same process until ready to roll out.......


Remove the to rubber seal by using torex refer to diagram no 12. then remove washer no 13. Spray a lot of WD40 on the torsion bar, multiple times!. Use hammer to push the anti roll bar out the other end, like this.........clik the picture to see animation.


Source : Steven Growdy, Saxperience


finally the axle arm have been remove from the housing.

New axle pin.


Done........after send to press the new axle pin.


Now my axle pin DONE!!!!
my bearing inside the housing for axle pin DONE!!!
Respay to red colour DONE!!!
.
.
.
.
.
Put the anti roll bar, axle arm and the housing back in. Repeat the same process until ready to roll out.......


